The Replacement Method of Activated Alumina Desiccant
1. Remove the activated alumina in the adsorption tank
Open the bottom flange of the adsorption and drying device, remove the activated alumina in the adsorption tank, and then use a vacuum cleaner to clean the dust and residue at the bottom.
2. Check the silk screen under the bottom plate of the adsorption tank
Check whether the silk screen under the bottom plate of the adsorption tank is damaged. If it is damaged, replace it with the stainless steel 40 mesh or 60 mesh screen, which is a double-layer stainless steel screen.
3. The bottom flange is installed well, and check whether the seal is leaking.
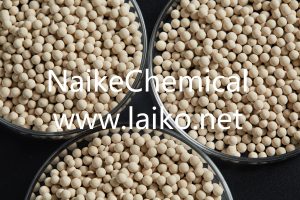
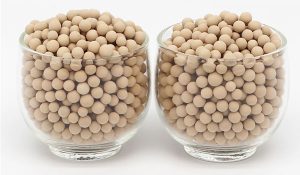
4. Pour the activated alumina desiccant from the top flange into the absorption tank
Open the upper flange, pour the from the top flange into the absorption tank, and fill the flange to the highest point. If possible, use a vibration motor to fix the top of the flange and vibrate it for 10 to 20 minutes. When there is no vibration motor equipment, insert a wooden stick into the absorption tank to ensure that the molecular sieve on the edge of the absorption tank has been filled in place, and the activated alumina has been filled to the 9/10 position of absorption tank, which then is filled with about 50kg to 100kg of inert alumina ceramic balls with the specification of 6 to 10mm for compaction.
5. Replace the activated alumina desiccant
Replace the activated alumina desiccant and install it at one time to prevent the desiccant from absorbing moisture in the air and affecting the drying effect.
6. After the activated alumina desiccant is loaded, dry compressed air is used for back purge
After the activated alumina desiccant is loaded, dry compressed air is used for back purge so as to discharge the internal activated alumina dust from the sewage outlet. Repeat 2 to 3 times to make the drying equipment reach a good state.